Introduction
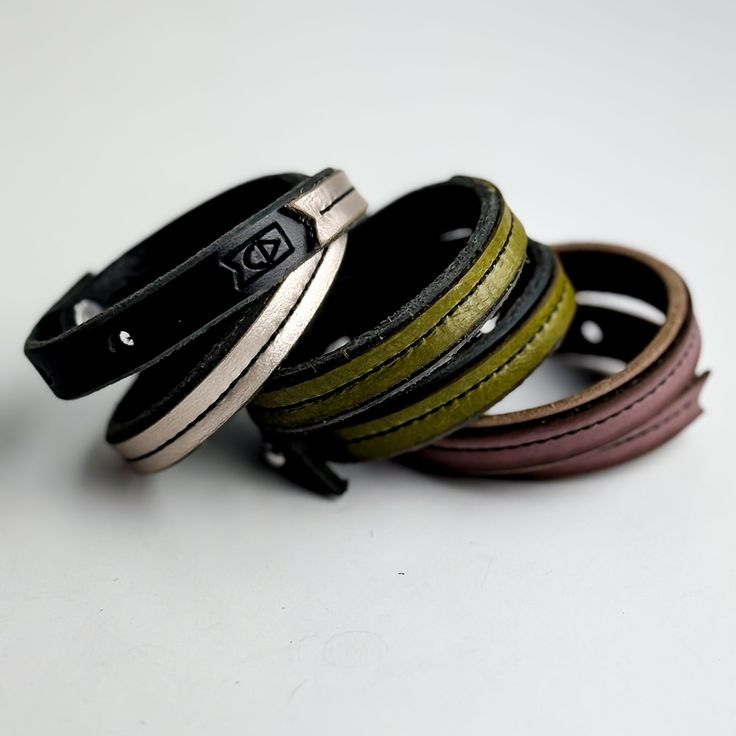
Leather wrap bracelets have become a popular accessory in recent years, blending style and craftsmanship. These versatile pieces can be worn by both men and women, and they come in a variety of designs, from simple and elegant to intricate and bold. In this guide, we will explore the basics of creating a leather wrap bracelet, including the materials needed, tools required, and step-by-step instructions. Whether you are a beginner or an experienced crafter, this guide will provide you with the knowledge and inspiration to create your own unique leather wrap bracelet. The keyword “leather wrap bracelet” is essential for understanding the focus of this article.
Materials Needed
Before you start, it is essential to gather all the necessary materials. The primary material, of course, is leather. You can choose from different types of leather, such as full-grain, top-grain, or genuine leather, depending on your preference and budget. Full-grain leather is the highest quality and most durable, while genuine leather is more affordable but may not last as long. Other materials include beads, clasps, and thread. Beads can add a decorative touch, while clasps ensure that the bracelet stays securely on your wrist. Additionally, you will need a strong thread or cord to string the beads and secure the leather. Make sure to select high-quality materials to ensure the durability and longevity of your leather wrap bracelet.
Tools Required for Making a Leather Wrap Bracelet
Having the right tools is crucial for a successful project. Some basic tools you will need include a ruler or measuring tape, scissors, a hole punch, and a needle. A ruler or measuring tape helps you measure the length of the leather accurately, ensuring a perfect fit. Scissors are used to cut the leather and thread, while a hole punch creates holes for the clasp and other components. A needle is essential for threading beads and securing the leather. If you plan to work with more intricate designs, you may also want to invest in specialized tools like a leather cutting knife or a bead loom. These tools will make the process easier and more enjoyable. For those who are just starting, a basic set of tools will suffice, but as you gain experience, you may find additional tools useful.
Step-by-Step Instructions
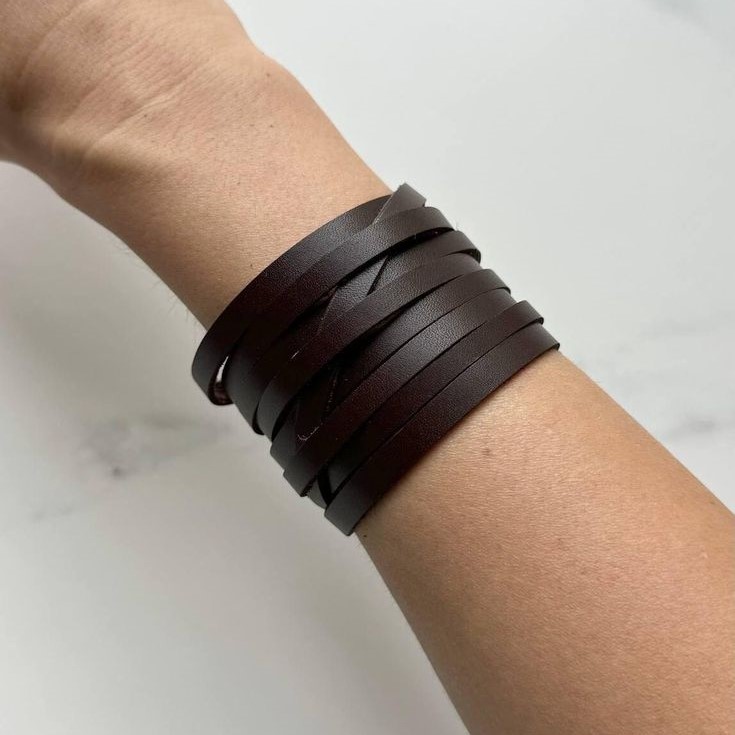
Now that you have gathered all the materials and tools, let’s dive into the step-by-step process of making a leather wrap bracelet. First, measure your wrist and add a few extra inches for the wrap. Typically, you will need about 24 to 30 inches of leather for a standard wrap. Cut the leather to the desired length using your scissors. Next, use the hole punch to create holes at each end of the leather strip where the clasp will be attached. Ensure the holes are evenly spaced and large enough to accommodate the clasp.
Thread the needle with the strong thread or cord and begin adding beads to the leather. Start by threading the needle through one end of the leather, then add beads, and continue until you reach the other end. Once you have added all the beads, secure the ends with knots. Finally, attach the clasp to the holes using jump rings. With these steps, you will have a beautiful and personalized leather wrap bracelet.
Tips for Customizing
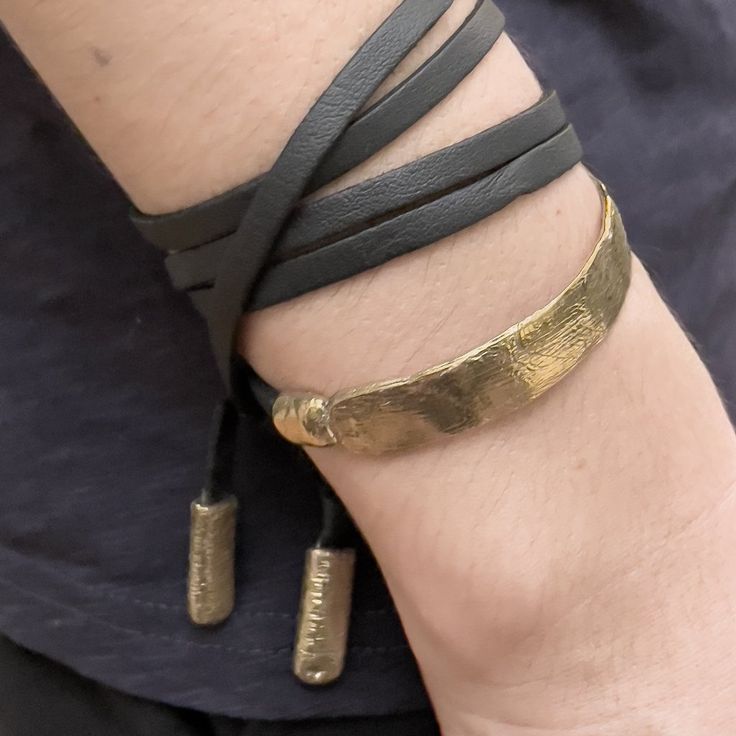
One of the best things about making a leather wrap bracelet is the ability to customize it to your liking. You can experiment with different colors, patterns, and textures of leather. Adding various types of beads, such as gemstones, wood, or metal, can give your bracelet a unique look. Consider incorporating charms or pendants for a personal touch. You can also mix and match different types of leather, such as smooth and textured, to create a layered effect. The possibilities are endless, and the only limit is your imagination. By customizing your leather wrap bracelet, you can create a piece that truly reflects your style and personality. For example, you might choose a combination of natural stones and silver beads for a boho-chic look, or opt for a more minimalist design with a single strand of leather and a simple clasp.
Caring for Your Leather Wrap Bracelet
To ensure that your leather wrap bracelet lasts for a long time, proper care is essential. Avoid exposing the bracelet to water, as it can cause the leather to warp and deteriorate. If the bracelet gets wet, gently pat it dry with a soft cloth and let it air dry. Regularly clean the leather with a damp cloth to remove any dirt or oils. Apply a leather conditioner every few months to keep the leather soft and supple. Store the bracelet in a cool, dry place away from direct sunlight to prevent fading. By following these care tips, you can extend the life of your leather wrap bracelet and enjoy it for years to come. Proper maintenance will help preserve the beauty and integrity of your handmade creation.
Common Mistakes to Avoid When Making a Leather Wrap Bracelet
While making a leather wrap bracelet is a rewarding experience, there are several common mistakes that can hinder your project. By being aware of these pitfalls, you can ensure a well-crafted and comfortable final product. Here are some key points to keep in mind:
Incorrect Measurement
Mistake: Not measuring the leather correctly.
Consequence: The bracelet may end up too short or too long, leading to an uncomfortable fit.
Solution: Always double-check your measurements before cutting the leather. Use a ruler or measuring tape to measure your wrist and add a few extra inches for the wrap. For a standard wrap, about 24 to 30 inches of leather is typically needed.
Using Low-Quality Materials
Mistake: Using low-quality materials.
Consequence: The bracelet may break easily or look cheap, diminishing its overall appearance and durability.
Solution: Invest in high-quality materials. Choose full-grain or top-grain leather for the best durability and appearance. Select beads and clasps that are well-made and match the quality of the leather. High-quality materials will not only enhance the look of your bracelet but also ensure it lasts longer.
Overloading with Beads
Mistake: Adding too many beads.
Consequence: The bracelet can become heavy and uncomfortable to wear, making it less appealing and practical.
Solution: Balance the number of beads you use. While beads can add a decorative touch, too many can make the bracelet cumbersome. Consider the weight and size of the beads and how they will affect the overall feel of the bracelet. A good rule of thumb is to use enough beads to add interest without overwhelming the design.
Poor Clasp Placement
Mistake: Incorrect placement of the clasp.
Consequence: The clasp may not align properly, making it difficult to fasten the bracelet or causing it to come undone.
Solution: Ensure the holes for the clasp are evenly spaced and centered. Use a hole punch to create clean, precise holes. Test the clasp before finalizing the bracelet to make sure it fits securely and is easy to fasten.
Inadequate Finishing
Mistake: Not finishing the edges of the leather properly.
Consequence: The edges of the leather may fray or look rough, detracting from the overall appearance.
Solution: Use a leather edge beveler or sandpaper to smooth the edges of the leather. You can also apply a leather edge finish or burnish the edges with a slicker to give them a professional, polished look.
Skipping Conditioning
Mistake: Not conditioning the leather.
Consequence: The leather may become dry, stiff, and prone to cracking over time.
Solution: Apply a leather conditioner to the leather before and after making the bracelet. This will keep the leather soft, supple, and resistant to wear and tear. Regular conditioning will also help maintain the color and texture of the leather.
Neglecting Proper Storage
Mistake: Storing the bracelet improperly.
Consequence: The bracelet may warp, fade, or deteriorate if stored in a damp or sunny location.
Solution: Store the bracelet in a cool, dry place away from direct sunlight. Use a jewelry box or a soft cloth bag to protect it from dust and damage. Proper storage will help extend the life of your leather wrap bracelet.
By being mindful of these potential pitfalls and following these tips, you can create a well-crafted and comfortable leather wrap bracelet. Attention to detail and careful planning will result in a beautiful and durable piece that you can enjoy for years to come.
Advanced Techniques for Experienced Crafters
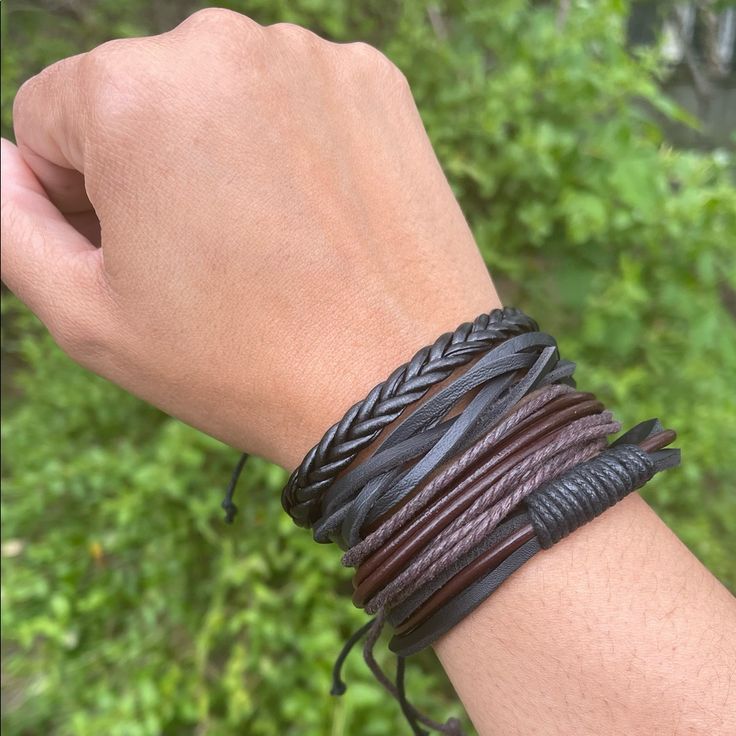
For those with more experience, there are several advanced techniques you can use to take your leather wrap bracelet to the next level. One technique is braiding the leather, which adds a unique texture and visual interest to the bracelet. You can braid multiple strands of leather together, incorporating beads and other embellishments as you go. Another technique is stamping or embossing the leather to create patterns and designs. This requires a leather stamping tool and a mallet. You can also dye the leather to achieve different colors, giving your bracelet a distinctive look. These advanced techniques allow you to create more intricate and personalized designs, making your leather wrap bracelet truly one-of-a-kind.
Conclusion
Creating a leather wrap bracelet from scratch is a fun and rewarding project that allows you to express your creativity and develop new skills. With the right materials, tools, and techniques, you can make a beautiful and personalized piece of jewelry. This guide has provided you with the essential information and step-by-step instructions to get started. Remember to take your time, experiment with different designs, and most importantly, enjoy the process. Whether you are making a leather wrap bracelet for yourself or as a gift, it is sure to be a cherished accessory. So, grab your materials and tools, and start crafting your very own leather wrap bracelet today. The keyword “leather wrap bracelet” is central to this guide, and by following these steps, you can create a stunning and unique piece of jewelry.