Introduction to Shark Tooth Necklaces
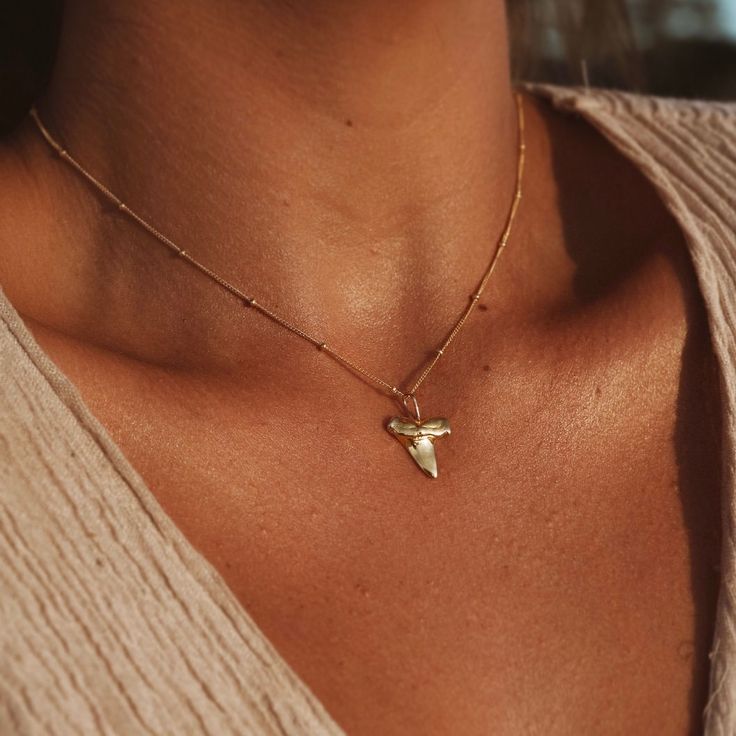
Shark tooth necklaces capture the wild essence of the ocean’s apex predators. Often seen as symbols of strength and survival, these necklaces have a rugged beauty that makes them a popular accessory. Crafting your own shark tooth necklace is not only a creative endeavor but also a way to connect with history. Ancient cultures revered shark teeth for their sharpness and durability, using them as tools and adornment. Today, we can create our own shark tooth necklaces as a nod to these traditions. With simple materials and a bit of patience, you can fashion a personal piece of jewelry that stands out. In this guide, we’ll show you how to make a shark tooth necklace using wire wrapping techniques or even from scratch with dough.
Materials Needed for a Wire Wrapped Shark Tooth Necklace
To begin crafting your wire wrapped shark tooth necklace, gather the following materials:
- Shark Tooth: Select a clean and sturdy shark tooth appropriate for a pendant.
- Silver or Copper Wire: 18-gauge is recommended for durability. However, 20-gauge can be used for a more delicate look.
- Wire Cutters: To cut the wire accurately and safely.
- Needle-nose Pliers: These pliers will help you manipulate the wire and create loops.
- Ruler: Measuring wire to ensure you have enough for wrapping.
- Spool: Helps to work directly from it, preventing wire waste.
- Chain or Hemp Twine: To thread the finished shark tooth pendant.
Having the correct materials on hand will make the process of crafting a shark tooth necklace seamless. The wire choice can be silver or copper depending on personal preference, as both work well. Strong tools like wire cutters and pliers are essential for handling and shaping the wire. Measuring your materials beforehand will also aid in creating a balanced and symmetrical pendant. Lastly, the type of necklace chain or twine you choose will complete your handmade creation and prepare it for wear.

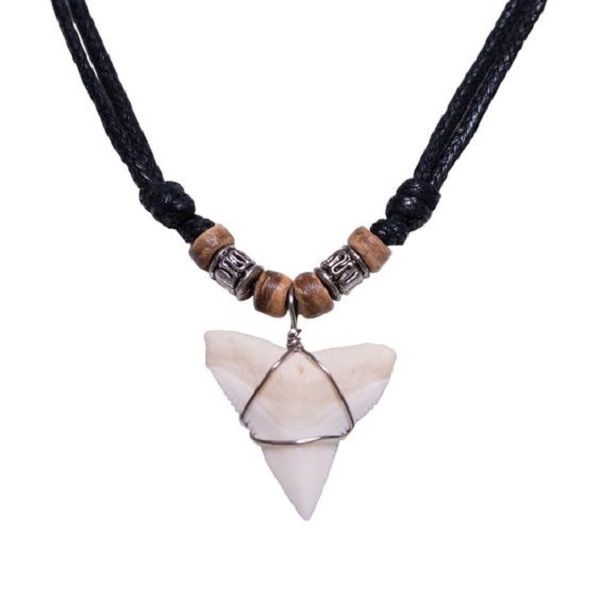
Step-by-Step Guide to Wire Wrapping a Shark Tooth
Creating a wire-wrapped shark tooth necklace is straightforward. Here’s a simple guide that walks you through every step. You’ll be showing off your new necklace in no time.
- Prepare Your Wire: Unspool four inches of 18-gauge wire. This length allows for easy wrapping.
- Position the Tooth: Place the wire diagonally behind the shark tooth from the top left to the bottom right.
- Start Wrapping: From the spool, wrap the wire over the tooth’s top right corner, bringing it down to the bottom left behind the tooth.
- Wrap the Other Side: Bring the wire to the front from the bottom left and wrap over the top left corner, again wrapping behind the tooth.
- Secure the Top: Repeat the wraps so each top corner has two wire loops. Leave four inches of wire and cut from the spool.
- Twist for Security: Twist the two ends above the tooth once or twice, tightening the wire around the tooth.
- Form the Loop: Twist the wires until one is in front and one behind. This will form your pendant’s loop.
- Create the Necklace Loop: Bend one wire in a front-to-back orientation and the other in the opposite direction, making twin loops.
- Finalize the Wire Work: Hold loops with pliers, twist the wires for extra security, then cut off any excess wire. Make sure no sharp edges protrude.
These steps will help ensure your wire-wrapped shark tooth pendant is secure and aesthetically pleasing. Measure your wire carefully, and always check the pendant’s firmness throughout the process. With these tips, you’ll have a beautiful shark tooth necklace that showcases your DIY skills and celebrates the enduring allure of these ocean predators.
Making a Shark Tooth Necklace from Scratch with Dough
If you’re in the mood for a craft that’s both fun and unique, making a shark tooth necklace from dough is a great project. It’s a child-friendly activity and doesn’t require any special jewelry-making skills. Here’s a simple way to create your own shark tooth pendant using just a few materials commonly found in your kitchen.
- Gather Your Materials: You’ll need salt, flour, water, and yarn or string.
- Create the Dough: Mix salt, flour, and water in a bowl until you achieve a doughy consistency.
- Shape Your Tooth: Take a piece of the dough and form it into the shape of a shark’s tooth.
- Make the Hole: Use a pencil to carefully poke a hole at the top, where you’ll thread the yarn later.
- Bake Your Pendant: Place your shaped tooth on a baking sheet and bake at 250 degrees for 1 hour.
- Cool and Thread: Allow the pendant to cool completely, then thread the yarn through the hole to finish your necklace.
This DIY project is a fun way to celebrate Shark Week or just to spark some creativity at home. It’s perfect for keeping the kids entertained and offers a playful twist on traditional shark tooth necklaces. Plus, when you wear your homemade pendant, you get the added pleasure of knowing you crafted it yourself!
Baking and Finishing Your Dough Shark Tooth Pendant
When you’ve molded your dough into the perfect shark tooth shape, it’s time to turn your soft creation into a hard pendant. This involves a simple baking process. To ensure your shark tooth pendant is ready for wearing, you need to follow these baking and finishing tips.
- Preheat Your Oven: Set your oven to the correct temperature of 250 degrees Fahrenheit before you start.
- Baking Sheet: Place your shark tooth dough carefully on a non-stick baking sheet.
- Bake with Precision: Bake your dough pendant for 1 hour, watching to avoid over-browning.
- Check Consistency: Make sure the dough has hardened and feels sturdy to the touch.
- Cool Down: Allow the pendant to cool completely on a wire rack or the baking sheet.
- Smooth Edges: Once cool, inspect your pendant and smooth any rough edges gently with sandpaper if needed.
- Seal for Permanence: To protect your pendant, you can apply a sealant such as clear nail polish or mod podge.
Following these steps will ensure that your dough shark tooth pendant is well-baked, durable, and ready to be transformed into a unique piece of jewelry.
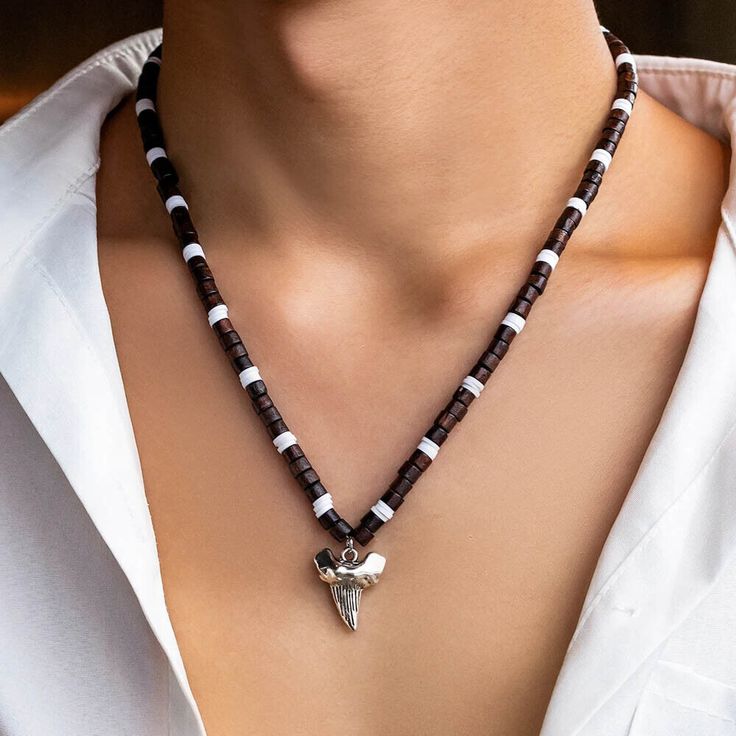
Threading Your Shark Tooth Pendant Onto a Necklace
Once your shark tooth pendant is crafted, be it with wire wrapping or molded from dough, the next step is threading it onto a necklace. This stage is crucial for transforming your pendant into a wearable piece of jewelry. The process is simple and can be done with either a chain or hemp twine, depending on the style you are aiming for.
Select Your Necklace Material
Choose a chain or hemp twine that complements your shark tooth pendant.
Cut to Desired Length
Measure and cut the necklace material to the length that fits you best.
Thread the Pendant
If using a chain, simply slide the pendant onto it. For hemp twine, you might twist the end to make threading easier.
Secure the Pendant
For chains, a clasp will keep the pendant in place. For twine, a knot is often sufficient.
Adjust if Needed
You can adjust the position of the tooth on the necklace to ensure it hangs perfectly.
The final result should be a captivating shark tooth necklace that sits comfortably around your neck. It’s essential to use materials strong enough to support the pendant and wear well over time. Threading your pendant properly will add to the necklace’s overall durability and appearance. Now that your shark tooth pendant is securely on its necklace, you’re ready to wear and show off your handcrafted treasure.
Tips for a Secure and Professional Looking Wire Wrap
To achieve a professional look, the wire wrap must be secure and tidy. Here are some tips to get you there:
- Choose the Right Wire: Select 18-gauge wire for a sturdy wrap. Use 20-gauge for a finer touch.
- Measure Twice: Ensure you have enough wire before you start. A little extra is better than less.
- Tight Wraps: A firm wrap holds the tooth well. Do not leave any loose wire.
- Tools Are Key: Use quality needle-nose pliers for bending. Sharp wire cutters are a must for clean cuts.
- Consistent Pressure: Apply even pressure when twisting to avoid kinks. This gives a smooth finish.
- Check Your Work: Throughout, pause to inspect the wire. Make sure each section is wrapped neatly.
- Smooth Edges: File any sharp ends after cutting the wire. This prevents snagging and gives a polished look.
- Practice Patience: Take your time with each step. Rushing can lead to mistakes.
- Visual Harmony: Aim for symmetry in your loops and twists. This enhances the necklace’s appeal.
By following these pointers, you’ll have a secure and elegant shark tooth wire wrap. Remember, a well-crafted piece is a reflection of the care and attention you put into it.