Introduction
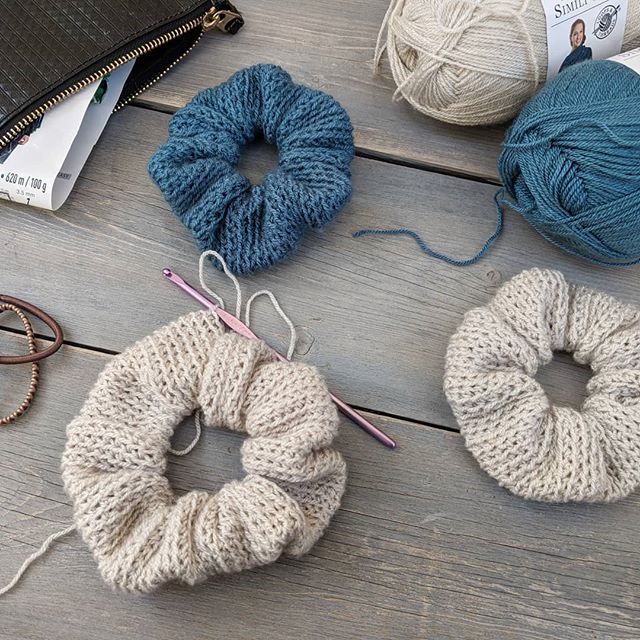
Crocheting a scrunchie is a delightful and straightforward project that can be completed in just a few hours. This easy-to-follow guide will walk you through the process of how to crochet a scrunchie, making it an ideal project for both beginners and experienced crafters. By the end of this tutorial, you’ll have a beautiful, handmade accessory that adds a personal touch to your hairstyle.
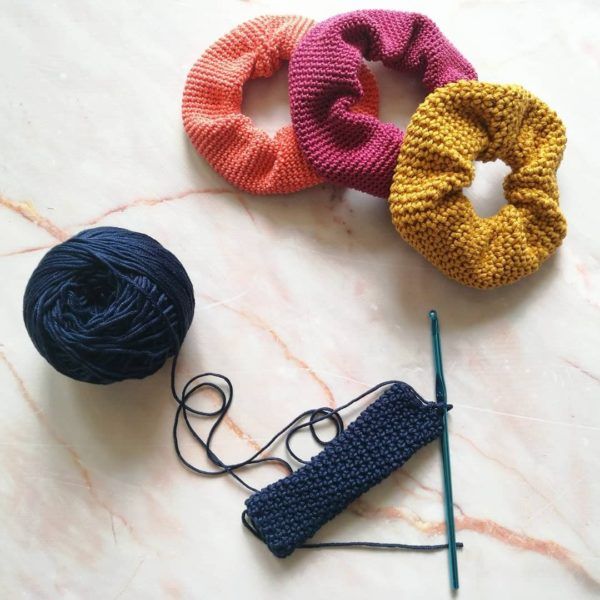
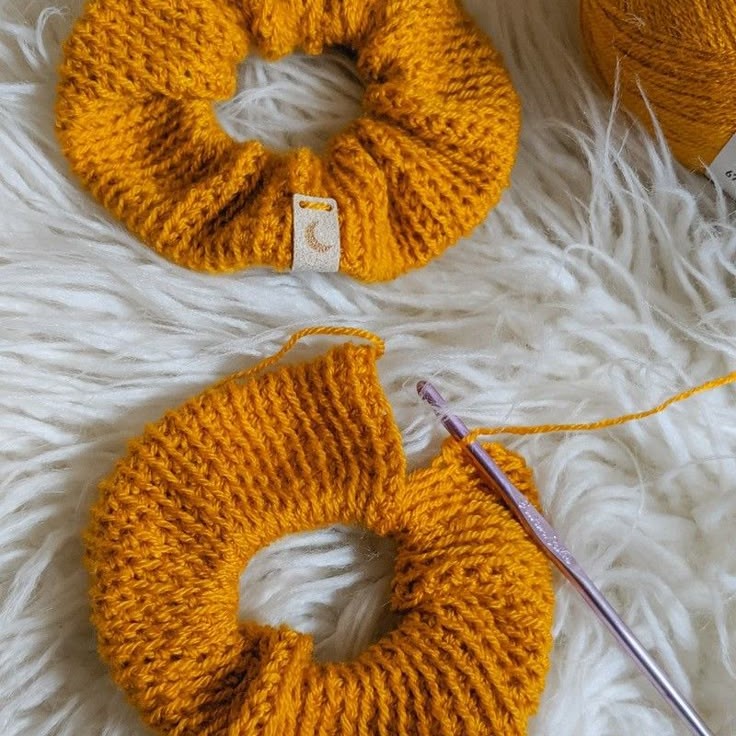
Whether you’re looking for a fun weekend project or a way to add a unique touch to your hair accessories, crocheting a scrunchie is a perfect choice. Not only is it a quick and satisfying craft, but it also allows you to express your creativity through color and design. The best part is that you don’t need a lot of materials or advanced skills to get started. With just a few basic tools and some yarn, you can create a stylish and functional scrunchie that you’ll be proud to wear or give as a thoughtful gift.
This guide is designed to be accessible to everyone, regardless of their experience level. We’ll cover everything from the essential materials you’ll need to the step-by-step instructions for creating your scrunchie. Along the way, we’ll provide tips and tricks to help you achieve the best results. So, whether you’re a seasoned crocheter or a complete novice, you’ll find this tutorial helpful and enjoyable.
Materials Needed
Before you start, gather the following materials:
- Yarn (medium weight, 4-ply)
- Crochet hook (size H/5.0mm)
- Elastic band (about 8 inches long)
- Yarn needle
- Scissors
These items are essential for creating a well-crafted scrunchie. The choice of yarn color and texture can be customized to match your personal style or the season. Ensure that the elastic band is comfortable and stretchy enough to fit around your hair without causing discomfort. Additionally, consider using a contrasting color for the yarn to make your scrunchie stand out.
Basic Crochet Stitches
If you’re new to crocheting, it’s important to familiarize yourself with some basic stitches. For this project, you will need to know how to make the following:
- Chain stitch (ch)
- Single crochet (sc)
- Slip stitch (sl st)
These stitches form the foundation of many crochet projects, including the scrunchie. Practice these stitches on a small swatch of yarn before starting your project to ensure smooth and even results. If you find any of the stitches challenging, there are plenty of online tutorials and videos that can help you master them.
Starting Your Scrunchie
- Begin by chaining 30 stitches. This length provides a good base for the scrunchie.
- Join the chain into a circle with a slip stitch. Make sure the chain is not twisted.
- Chain 1, then work single crochet stitches into each chain around the circle. This creates the first round of your scrunchie.
By starting with a chain and forming a circle, you create a sturdy base for your scrunchie. The number of chains can be adjusted if you prefer a larger or smaller scrunchie. For a more relaxed look, you might want to add a few extra chains, while for a tighter fit, you can reduce the number of chains.
Continuing the Rounds
- Chain 1 at the beginning of each new round.
- Work single crochet stitches into each stitch from the previous round.
- Repeat this process until your scrunchie reaches the desired width. Typically, 6-8 rounds are sufficient.
How to crochet a scrunchie? As you continue to add rounds, the scrunchie will begin to take shape. Keep your tension consistent to ensure a uniform look. If you find that the scrunchie is too tight or too loose, adjust the number of rounds accordingly. Consistent tension is key to achieving a professional finish.
Adding the Elastic Band
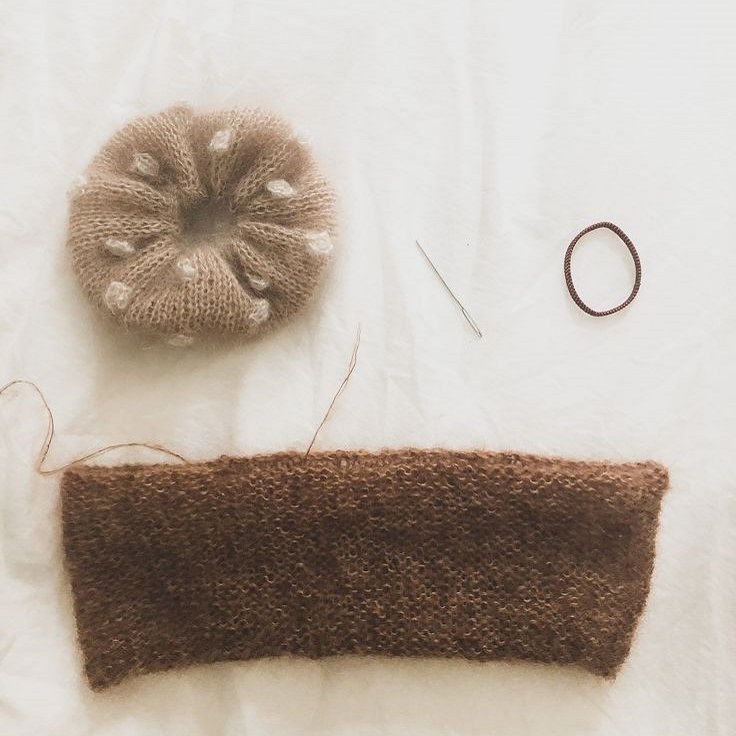
- Once you have completed the desired number of rounds, cut the yarn, leaving a long tail for sewing.
- Thread the yarn needle with the tail and sew the last round closed, securing the ends.
- Insert the elastic band into the center of the scrunchie. Use the yarn needle to thread the elastic through the center, ensuring it is evenly distributed.
- Overlap the ends of the elastic by about 1 inch and sew them together securely. Trim any excess elastic.
Adding the elastic band is a crucial step in giving the scrunchie its functionality. Make sure the elastic is snug but not too tight, as it needs to comfortably hold your hair in place. A secure elastic band will ensure that your scrunchie stays in place throughout the day.
Finishing Touches
- Weave in any remaining yarn tails using the yarn needle. This ensures a clean and professional finish.
- Gently stretch the scrunchie to distribute the stitches evenly.
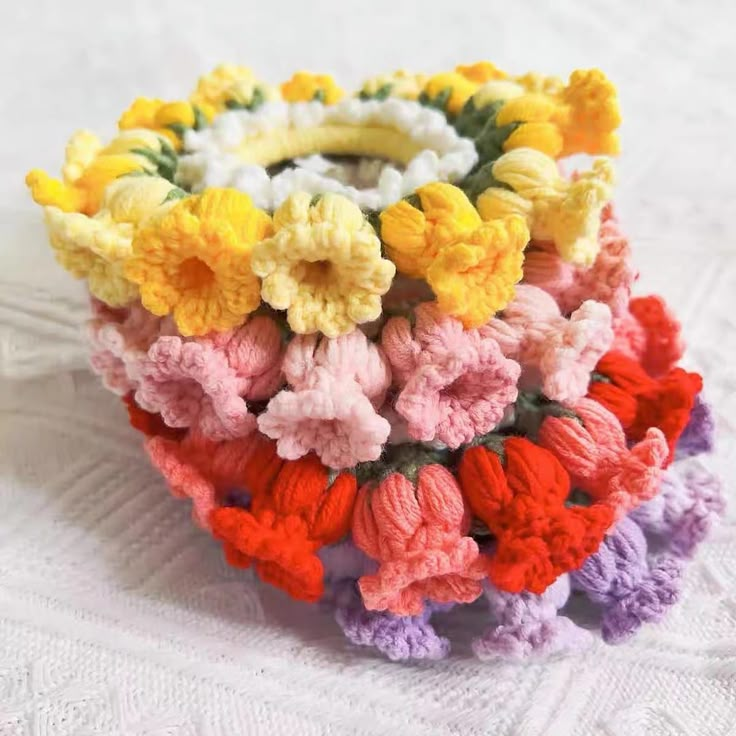
- Optionally, you can add decorative elements such as buttons, beads, or embroidery to personalize your scrunchie.
Finishing touches can make your scrunchie unique and stylish. Then, experiment with different colors, textures, and embellishments to create a variety of scrunchies for different occasions. Adding a small charm or a button can give your scrunchie a special touch.
Tips and Tricks
Tension:
Consistency is Key: Maintaining consistent tension throughout your crocheting is crucial. Inconsistent tension can result in a lumpy or uneven scrunchie, which may not look as polished or feel as comfortable.
Practice Tension Control: To achieve even tension, practice holding the yarn and hook in a way that feels natural and comfortable. Some crocheters find it helpful to keep their stitches slightly looser than they would for other projects, as this can help the scrunchie stretch and fit comfortably around the hair.
Check Your Work: Periodically stop and examine your work. If you notice any areas where the tension is too tight or too loose, you can adjust your technique accordingly.
Yarn Choice:
Soft and Durable: Select a soft, medium-weight yarn for your scrunchie. This will ensure that the finished product is both comfortable to wear and durable enough to withstand regular use.
Popular Yarn Types: Cotton and acrylic blends are popular choices because they offer a good balance of softness and durability. Cotton yarns are breathable and gentle on the hair, while acrylic blends provide elasticity and resistance to wear and tear.
Consider Texture: Think about the texture of the yarn. A smooth, even yarn will create a more polished look, while a textured yarn can add a unique and interesting dimension to your scrunchie.
Color Coordination:
Match Your Style: When choosing the color of your yarn, consider the color of your hair and the outfits you frequently wear. The right color can complement your style and make your scrunchie a versatile accessory.
Neutral Colors: Neutral colors like black, white, and gray are timeless and versatile. Then, they can easily match with a wide range of outfits and hairstyles, making them a safe and practical choice.
Bright and Bold: If you want to add a pop of fun and personality to your look, opt for bright and bold colors. So, these can be a great way to express your individuality and add a vibrant touch to your accessories.
Practice Makes Perfect:
Start Small: If you are new to crocheting, it’s a good idea to practice the basic stitches on a small swatch before starting your scrunchie. This will help you get a feel for the technique and build your confidence.
Master the Basics: Focus on mastering the basic crochet stitches, such as the chain stitch, single crochet, and double crochet. These are the building blocks of most crochet projects, including scrunchies.
Improve Over Time: As you practice, you will likely notice improvements in your technique. So, don’t be discouraged by initial mistakes; they are part of the learning process. With time and practice, you will become more skilled and produce better results.
How to crochet a scrunchie? By paying attention to these details, you can create a beautifully crafted scrunchie that is both functional and stylish. Consistent tension, the right yarn choice, thoughtful color coordination, and plenty of practice will all contribute to a high-quality final product.
Variations and Customization
Once you’ve mastered the basic scrunchie, you can experiment with different patterns and designs. Here are a few ideas:
- Ribbon Embellishment: Add a ribbon to the outside of your scrunchie for a feminine touch.
- Multi-Color Patterns: Use multiple colors of yarn to create stripes or other patterns.
- Textured Stitches: Try using different crochet stitches, such as double crochet or half-double crochet, to add texture to your scrunchie.
- Beads and Sequins: Incorporate beads or sequins into your design for a bit of sparkle.
Customizing your scrunchie allows you to express your creativity and create unique accessories. You can also make scrunchies as gifts for friends and family, adding a personal touch to each one.
Conclusion
Now that you know how to crochet a scrunchie, you can enjoy the satisfaction of creating a functional and fashionable accessory. This easy step-by-step guide has provided you with all the information needed to complete your project. Whether you’re a beginner or an experienced crafter, crocheting a scrunchie is a rewarding and enjoyable activity. Share your creations with friends and family, or keep them for yourself to add a personal touch to your hairstyles. Happy crocheting!