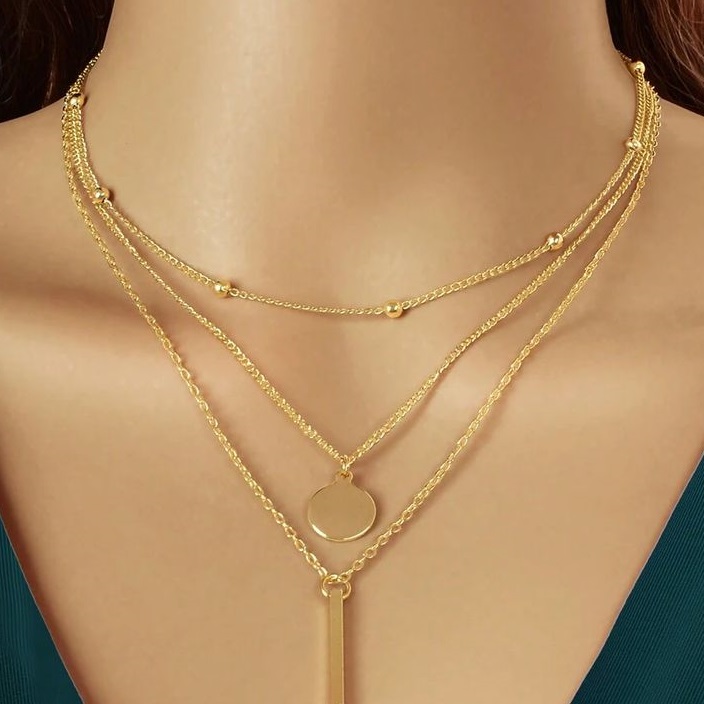
Planning Your Necklace Design
Creating a unique necklace starts with a solid plan. It’s important to know the style, theme, and the overall look you’re aiming for.
Choosing Your Materials
Select materials that match your design vision. Opt for quality beads, pendants, and cords that reflect your style. Experiment with different textures and colors.
Drafting the Design
Sketch your necklace layout. Choose a focal point, like a large pendant, and arrange other elements around it. Consider symmetry and balance in your draft.
Deciding on Necklace Length
Decide whether you want a choker, princess-length, or a longer style. Measure your neck or use a reference necklace to determine the perfect length for comfort and appearance.
Essential Tools and Materials
Before beginning to make a necklace, gather the essential tools and materials needed for the task.
Gathering Basic Crafting Supplies
To start, you will need a variety of basic crafting supplies. Collect scissors, pliers, a tape measure, and adhesive. These tools will help you cut materials, secure elements, and measure your necklace for the perfect fit.
Selecting Beads and Pendants
Choose beads and pendants that fit your design. Look for different sizes, shapes, and colors. Think about how they will work together on your necklace. Don’t forget to pick a focal point, like a standout pendant or a unique bead that draws attention.
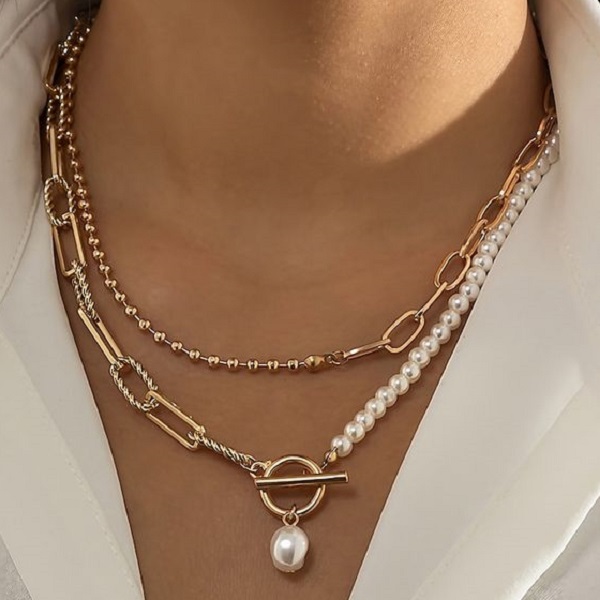
Types of Clasps and Fasteners
Consider which type of clasp or fastener you want to use. Options include lobster clasps, toggle clasps, and magnetic clasps. Each has its own look and method of attachment, affecting how you will wear and secure your necklace.
Creating the Base of Your Necklace
Crafting the base is the first step in making your necklace.
Working with Beading Wire
Choose a strong beading wire for a sturdy necklace base. Cut the wire longer than your desired length for ease. Attach clasps to the wire ends using crimp beads for security.
Using Embroidery Thread
Opt for embroidery thread for a softer necklace base. Knot the thread at one end before adding beads. Secure the other end with a clasp after beading for closure.
Preparing Leather or Fabric Cords
Select leather or fabric cords for a natural look. Measure and cut the cord to your preferred length. Use knots or clasps to finish the ends after adding your beads or pendants.
Beading Techniques and Patterns
When crafting a necklace, the beads form the heart of your design. Beading involves stringing them in a way that complements your style and the necklace’s overall appearance. We’ll cover how to string beads, attach clasps, and create a classic beaded necklace.
Stringing Beads Effectively
Stringing beads correctly is key to a lasting, beautiful necklace. Start by choosing a durable thread or wire. Cut it longer than you need to leave room for adjustments. Slide beads onto your string in the sequence you planned. Remember to leave enough space at the ends for the clasp.
Attaching Clasps and Closures
Clasps secure your necklace and can be decorative too. To attach, first thread a crimp bead onto your wire or string. Then, add the clasp. Loop the wire back through the crimp bead to make a small loop. Use pliers to squeeze the crimp bead flat. This locks the clasp in place.
Making a Beaded Necklace
For a beaded necklace, gather your chosen beads and a suitable string. Measure and cut the string. Consider the necklace length and add a bit extra for tying off. Attach a clasp using the method above. String your beads in a pattern or randomly, based on your design. Attach the other side of the clasp to finish the necklace. Remember, ensure the beads do not slide off while you work.
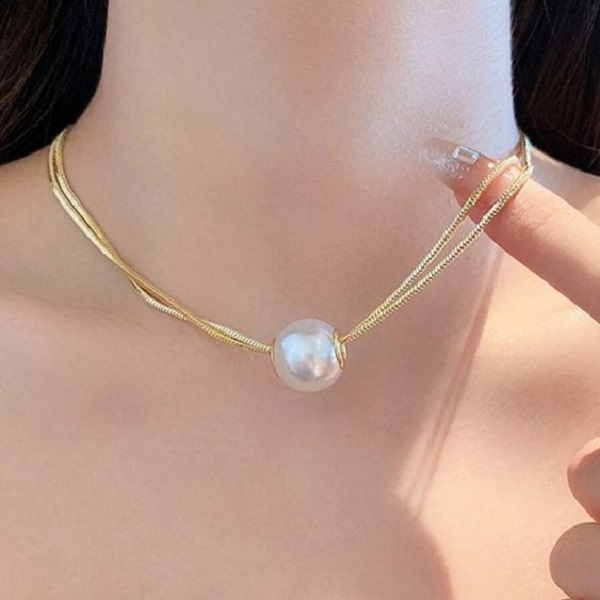
Incorporating Pendants and Charms
Pendants and charms can transform a simple necklace into a standout piece. To incorporate them, consider the necklace’s theme and choose pieces that complement or contrast the beads you’ve strung.
Selecting the Right Pendant
Choose a pendant that catches the eye and fits the necklace style. Consider size, color, and shape when choosing. Make sure the pendant’s hole is the right size for your necklace cord or thread.
Attaching Pendants with Jump Rings
Jump rings are small metal loops used to attach pendants to necklaces. Use two pliers to open the ring by twisting the ends in opposite directions. Thread the pendant onto the ring, then close it by reversing the twisting motion. This secures the pendant to your necklace.
Crafting a Pendant Necklace
Start with a chain or cord cut to your desired length. Add a clasp to one end using the technique described earlier. Slide the pendant onto the chain, then attach the other side of the clasp. Arrange beads or smaller charms around the pendant to complete the design. Your handmade pendant necklace is now ready to wear or give as a gift.
Special Techniques
To make your necklace stand out, try these special techniques, which add unique elements to your DIY project.
Making a Floating Bead Necklace
For an eye-catching design, consider making a floating bead necklace. Use thin, clear nylon or a steel cable. Slide on crimp beads and your chosen beads, spacing them as desired. Secure each bead with pliers by crimping the beads on both sides. Attach clasps at the ends for an elegant, floating effect.
Creating a Tassel Accent
Tassels add a fun and trendy touch. Gather embroidery thread and cut to the same length. Fold in half to make a loop at the top. Tie a piece of thread around the top section to form the tassel head. Attach the tassel to your necklace with a jump ring for a playful addition.
Assembling a Stone and Tassel Necklace
Combine glam and boho by attaching a stone pendant and a tassel. Use adhesive to fix a bead cap on your stone. Attach with a connector ring. Make a tassel following the previous steps. Use a chain as your base and add the pendants with pliers. This design mix is perfect for a modern, chic look.
Finishing Touches
After creating it, you need to add the finishing touches to ensure it’s durable and looks professional.
Securing the Necklace Ends
Make sure your necklace ends are secure to prevent beads from slipping off. Check that all knots and clasps are tight and well-fastened. If using a cord, consider applying a dab of strong adhesive to knots before trimming excess material.
Adding Crimp Beads for Professional Finish
Crimp beads can add a polished look and keep your design in place. Slide a crimp bead where you want your bead or pendant to stay. Using pliers, squeeze the crimp bead flat so it grips the wire or thread firmly.
Making Adjustable Lengths with Slip Knots
For a versatile necklace, use slip knots to adjust the length. Cross the ends of your cord to form a loop. Thread the end through the loop to create a knot. Repeat on the other side. Adjust the knots to shorten or lengthen it easily.
Resources and Inspiration
There are many resources available to help you learn more about it and find inspiration for your creations.
- Books and magazines: Check your local library or bookstore for books and magazines on jewelry making.
- Online tutorials and videos: YouTube and other websites offer a wealth of information and tutorials on necklace making.
- Jewelry-making classes: Consider taking a class to learn new techniques and get personalized instruction.
- Social media groups and forums: Connect with other jewelry makers online for inspiration and support.
- Craft stores and bead shops: Visit your local craft store or bead shop to browse materials and get advice from experienced staff.